
A moon is the single most transformative structure in OGame. It gives you a hidden fleet save point, a platform for a Phalanx sensor to spy enemy departures, and a jump gate to move fleets instantly across the galaxy. Without one, every planet you own is readable to any enemy with a phalanx — your fleets exposed, your timings known. This guide covers the full moonshot pipeline: how moon chance is calculated, how to design a sacrificial fleet that maximises probability per credit spent, and what to prioritise the moment that grey rock appears in orbit. OGames universes push moon chances to levels the official servers never offered — and knowing how to exploit that changes everything.
Why Every Serious Player Wants a Moon

Ask any veteran what separates mid-game players from top-tier raiders and the answer is almost always the same: moons. A planet without a moon is transparent. Any opponent with a Phalanx sensor on a nearby moon can watch your fleet launch, calculate its return time, and time an attack to land the moment your ships touch down. You can dodge with careful fleet saving, but you are permanently on the defensive, burning deuterium to keep your fleet in the air.
A moon changes the equation on two fronts. First, it gives you a secure fleet save destination that does not appear on planetary scans — fleets parked on a moon are invisible to espionage probes. Second, once you build a Phalanx on your own moon, you can read enemy departures from positions in the same galaxy, letting you ninja-recall or counter-attack with real intelligence rather than guesswork. For aggressive players, a Jump Gate on the moon turns cross-galaxy repositioning from a multi-hour fuel burn into a near-instant teleport.
The psychological effect matters too. Players who know you have a moon on a key position will think twice before committing a heavy attack fleet. It signals investment, presence, and competence — all of which translate into fewer harassment attacks and more respect from alliance members and enemies alike.
For a deeper look at how moons fit into the broader fleet security picture, the fleet save guide and the phalanx guide are worth reading alongside this one.
How Moon Chance Actually Works

Moon chance in OGame is not random in the sense that anything can happen. It follows a deterministic formula tied to the size of the debris field created by the battle. The base formula converts debris mass to a percentage, capped at a hard ceiling set by the universe configuration. On the official servers that cap sits at 20%. On OGames it varies by universe and runs considerably higher — more on that shortly.
The core relationship is straightforward: larger debris field equals higher moon chance, up to the cap. The debris field is populated from destroyed ships on both sides of the combat. Each ship contributes a fraction of its base resource cost to the field, with the exact percentage again set by universe configuration. On OGames the debris rates are more generous than standard servers, meaning a given battle leaves behind more raw material — and therefore generates a higher moon chance for the same number of ships destroyed.
The chance is checked once, at the moment the battle resolves. If the RNG fires in your favour, the moon appears immediately at the end of combat. If it does not, the debris field sits in orbit and you must fight another battle at the same coordinates to get another roll. No existing debris carries over to improve your next roll — each battle generates its own independent chance from its own debris. This is why moon engineering is not about sending one massive fleet and hoping; it is about understanding the probability mathematics and deciding how many attempts you are willing to fund.
One important mechanical detail: the moon chance is calculated from the total debris created by the battle, not just the attacker's losses or the defender's losses. Both sides contribute. This means that in a self-arranged moonshot, you want both fleets to die completely — wasted survivors lower your debris total and therefore your chance.
Engineering a Moonshot: The Self-Sacrifice Method

The classic moonshot involves sacrificing a fleet of your own ships — or coordinating with a trusted friend or alliance member — in a controlled battle at the target planet. The goal is to create a debris field large enough to hit the moon chance cap, giving you the maximum possible probability on each attempt. Here is how to approach the engineering side of it.
Choose Your Ship Composition
You want the highest debris value per unit of resource cost. Light Fighters are the traditional moonshot ship because they are cheap to build, fast to produce in bulk, and have a predictable rapid-fire interaction — larger ships will rapid-fire them, wiping the fleet efficiently and maximising debris. Recyclers are sometimes used but their higher cost per unit makes them less efficient for pure debris generation. On most speed servers, Light Fighters remain the dominant moonshot ship.
Calculate How Many Ships You Need
To hit the moon chance cap you need a debris field of a specific minimum size. Work backwards from the cap: if your universe has a 20% moon cap and each 1% of moon chance requires a certain debris mass, multiply accordingly. The exact number shifts by universe debris rate. On vanilla OGame rates (30% of ship cost to debris), approximately 200,000 Light Fighters generates roughly 20% chance. On OGames universes with higher debris rates, you reach the same threshold with fewer ships — a direct saving.
If you cannot afford enough ships to cap in one shot, consider whether multiple smaller attempts averaging out are more efficient than saving up. On universes where moon chance caps at 30% or 40%, single-shot capping becomes more viable because the raw chance per attempt is so much higher.
Coordinate the Battle Correctly
The defending fleet (the sacrifice) must be present and must lose. If you are doing a solo moonshot — attacking your own planet — you need to send the sacrificial fleet to your target planet first, then attack from an alt or a cooperative account. Alliance members are the practical solution: they attack your planet, your fleet defends and dies, the debris field forms, the moon chance rolls. Send no defences — they do not contribute meaningfully to debris and they absorb rapid fire that should be killing your ships cleanly.
Make sure the attacking fleet is strong enough to win decisively but not so overwhelming that it loses nothing. A complete wipe of both sides gives maximum debris. If the attacker survives with large numbers of ships intact, their non-destroyed ships contributed nothing to the field. Size the attacker appropriately — enough combat power to win, no excess fat.
Understanding how battle mechanics resolve — rapid fire tables, combat rounds, weapon/shield interactions — is essential for sizing both fleets correctly. The combat mechanics breakdown covers these in detail.
The Sacrificial Fleet Economics
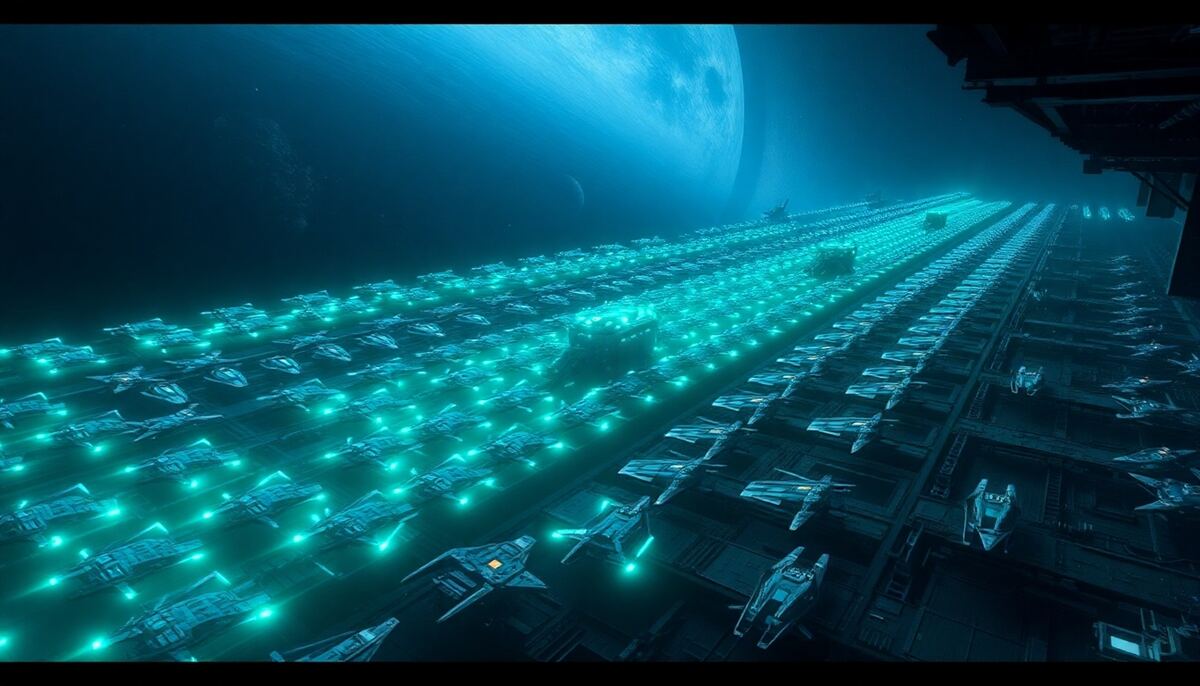
A moonshot is a deliberate destruction of resources. The question is not whether it is expensive — it is — but whether the strategic value of the moon justifies the cost at your current stage of the game.
Break-Even Thinking
A moon enables fleet saves that protect fleets worth many times more than the ships you sacrificed. If you are running 5 million metal worth of fleet and a moonshot costs 2 million metal in Light Fighters, one successful fleet save that avoids a full crash pays for the moon multiple times over. The math almost always favours getting a moon sooner rather than later.
The harder calculation is on high-speed universes where your fleet regenerates quickly. If you can rebuild the sacrificed ships in two days of active farming, the cost is two days of progress. Compare that to the ongoing deuterium drain of fleet saving without a moon, and the decision usually tips toward doing the moonshot.
Multiple Attempts and Expected Cost
Probability does not guarantee success on any single attempt. At a 20% cap, you have an 80% chance of failure each try. The expected number of attempts before success at 20% is five. At 40%, it drops to 2.5. This matters for your budgeting: at 20% cap, budget for five moonshots worth of ships as your average scenario. At 40% cap, budget for two to three. OGames universes at the higher end of the moon chance scale dramatically reduce the average resource investment required to get a moon.
If you have a friend or alliance mate willing to coordinate, consider splitting costs. They bring the attacking fleet — which they can recycle from the debris field using Recyclers — and you build the sacrificial defence fleet. The attacker recovers a percentage of their fleet cost from recycling, lowering the net cost for both parties.
Farming inactive players efficiently to build up the ship budget quickly is a legitimate preparation strategy. The farming inactive players guide and the broader raiding guide cover how to accumulate resources at speed on fast servers.
Dark Matter and Universe Bonuses
On OGames, commanders and the Academy system provide meaningful buffs to construction speed. The Geologist commander reduces resource consumption, and the Engineer increases defensive structure effectiveness. Neither directly boosts moon chance, but they lower the effective cost of farming up to your moonshot budget. Free Dark Matter allocations at signup and weekly grants mean you can activate commanders earlier than on pay-to-play servers, making the economic grind toward a moonshot faster in practice.
OGames Moon Chances: Up to 40%
This is where OGames separates itself sharply from the official servers and most other private servers. Moon chance caps are set per universe, and OGames has pushed them significantly above the standard 20% ceiling.
- Andromeda — moon chance up to 20%, matching official server maximums. Debris rates of 43% ships / 17% defences mean your sacrificial fleet generates solid debris mass. The 50x economy speed means you rebuild ships quickly between attempts.
- Nebula — moon chance up to 30%, a full 10 percentage points above standard. Combined with 55% / 22% debris rates, reaching the cap requires fewer ships than you might expect. At 99x economy, rebuilding between failed attempts is measured in hours, not days.
- Proxima — moon chance up to 40%, the highest cap on OGames. Debris rates of 80% / 32% are exceptional — most of every destroyed ship goes into the field. At 200x economy, building the sacrificial fleet for a moonshot attempt can be done in a single session of active play. A 40% cap means your expected attempts before success is 2.5, and with 80% debris rates the cost per attempt in real resources is lower than on any other universe.
For players choosing a universe specifically with moonshots in mind, Proxima offers the most forgiving environment for getting moons early and cheaply. Nebula is a solid middle ground. Andromeda rewards patience and careful fleet management in an environment closer to the classic OGame balance.
The universe comparison is worth thinking through before you commit. A breakdown of all three universes and their full speed and mechanics differences is available at the servers overview page.
After the Moon: First Structures to Build
The moon has appeared. Now what? The order in which you develop your moon determines how quickly it pays for itself. Getting this wrong means weeks of reduced strategic value from a structure you paid heavily to create.
Lunar Base (Level 1 Immediately)
You cannot build anything else on the moon until you have a Lunar Base. Build it first, no exceptions. Each level of Lunar Base gives you additional building slots on the moon and increases the moon's diameter, which matters for Phalanx and Sensor Phalanx range calculations. Level 1 is the gating requirement; get it done the moment the moon appears.
Sensor Phalanx (Priority Two)
The Phalanx is why most players want a moon in the first place. Each level increases the range of galaxies you can observe, starting at 1 and extending outward. Level 1 covers the galaxy you are in. Level 2 and above add galaxies in both directions. For active raiders and players who want to ninja-defend, getting the Phalanx to a usable range as fast as possible is the correct priority. Each scan costs deuterium, so production buildings come alongside Phalanx development rather than after.
Robotic Factory and Shipyard
A moon Shipyard lets you build ships directly on the moon, avoiding the need to fly ships from your planet. Combined with a Jump Gate later, this means you can stage an attack force directly on the moon without it ever appearing on planetary scans. Robotic Factory accelerates construction at all moon buildings, so a few levels here speeds up everything else in your development queue.
Jump Gate (Medium-Term Goal)
A Jump Gate is the long-term prize. It allows instant fleet transfers between two moons you control — or between your moon and an alliance member's moon — with a one-hour cooldown per gate. This changes your operational range from whatever your fleet's speed allows to effectively instant. Two moons with gates transforms your strategic positioning; you can attack from any direction, reinforce instantly, and move resources without flying visible fleets. It is expensive to build but the operational advantage over players without gates is substantial.
The Phalanx mechanics and how to use your new moon offensively are covered in depth in the Phalanx guide. If your moon is in a position where enemies might attack it, the ninja defense guide explains how to turn those attacks into counter-attack opportunities.
Common Moonshot Mistakes
Veterans make these mistakes less often, but they still happen. Knowing them in advance saves you resources and frustration.
- Sending defences to the target planet. Defences contribute to debris only at a lower rate than ships, and they absorb rapid-fire hits that should be killing your sacrificial fleet efficiently. Send no defences to the moonshot planet.
- Using an oversized attacker fleet. If the attacking fleet is so powerful it takes zero losses, a large portion of combat damage comes from one side only. Size the attacker to win decisively but not effortlessly — some attacker losses increase debris slightly.
- Not recycling the debris after a failed attempt. A failed moonshot leaves a debris field in orbit. Recycle it immediately — those resources fund the next attempt's ship build. Leaving debris uncollected is leaving money on the table, and enemy Recyclers will take it if you wait.
- Picking a bad moon position. A moon on a planet deep in a galaxy with little traffic is worth much less than one on a planet you actively use for raiding or that sits near a busy galaxy region. Think about where a Phalanx would give you maximum coverage before choosing your moonshot target planet.
- Stopping at one moon. One moon is a starting point. Serious players aim for moons on multiple key planets — at minimum one on their primary raiding base and one on their highest-production planet. The moonshot economics get easier as your fleet and economy grow, so build a pipeline rather than treating your first moon as the end goal.
FAQ
What is the maximum moon chance on OGames?
It depends on the universe. Andromeda caps at 20%, Nebula at 30%, and Proxima at 40%. Proxima's 40% cap, combined with its 80% debris rate for ships, makes it the most efficient universe for getting moons quickly and cheaply. No amount of debris beyond what is needed to hit the cap improves your chance further — the cap is a hard ceiling.
Can I do a moonshot alone without a second account?
You need two separate accounts to execute a battle at your own planet — one to defend and one to attack. On OGames, coordinating with an alliance member is the practical approach. They attack your planet with a correctly sized fleet, you park the sacrificial fleet in defence, both fleets ideally die completely, and the debris field is generated. Your ally can then recycle the debris to recover a portion of their costs, making the arrangement fair for both parties.
Does the debris field from a failed moonshot carry over to the next attempt?
No. Each battle creates its own debris field, and moon chance is calculated from that battle's debris only. Previous debris in orbit does not stack with new debris for the chance roll. Recycle any existing debris before your next attempt so enemy recyclers do not take it, but do not expect it to help your odds.
Should I build defences on my moon?
A small amount of defensive structure — typically Plasma Turrets, which are not rapid-fired by most attack compositions — on your moon is worth building once you have your core moon buildings in place. Defences do not prevent a determined attacker from destroying your moon, but they raise the cost of a casual moon-bust attempt and deter opportunistic attacks. Do not neglect them entirely, but do not prioritise them over Lunar Base, Phalanx, and Shipyard.
How do I use a Jump Gate effectively once I have two moons?
A Jump Gate transfers an entire fleet (or any subset you specify) from one moon to another instantly, with a one-hour cooldown per gate used. The most effective use is staging attack fleets: build ships on a rear moon, jump them to a forward moon closer to your target, launch the attack from there. This compresses your flight time and keeps your fleet composition hidden until the last moment. For defensive use, a gate lets you pull a fleet off a threatened moon in under a minute and redeploy it anywhere your second gate is positioned — a decisive advantage in a time-critical crisis.
Getting your first moon is a milestone that redefines your strategic options in OGame. On OGames, the elevated moon chances — especially in Nebula and Proxima — make that milestone more accessible than on any standard server. Whether you are engineering your first moonshot on a budget or planning a network of gated moons across multiple galaxies, the mechanics reward preparation and deliberate play over luck. Join OGames and start building toward your first moon today — the debris field is waiting.