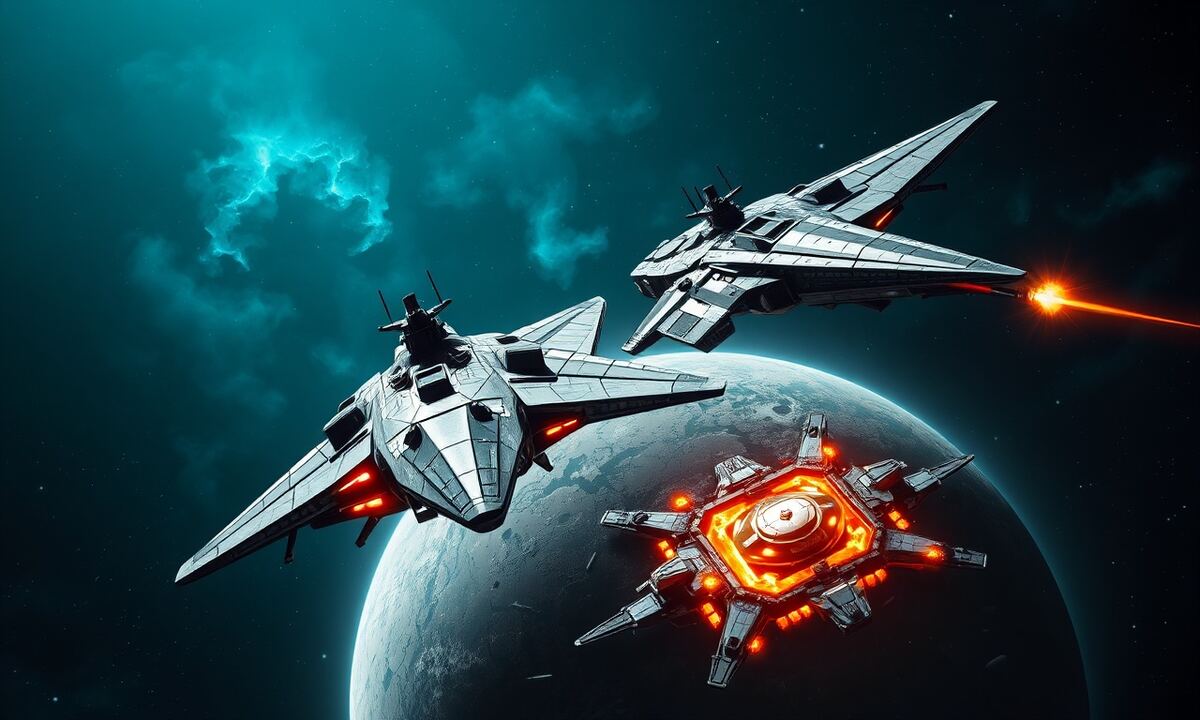
Destroyers and bombers fill roles that every other ship in the OGame roster simply cannot replicate: the bomber strips planetary defenses that would chew through a conventional fleet, while the destroyer punches through battlecruisers and escorts death stars past their worst counters. Neither ship belongs in your everyday recycling runs or basic cargo raids — but when the situation calls for a specialist, nothing else will do. This guide breaks down both hulls from the inside out so you know exactly when to build them, how many to build, and how to combine them with the rest of your fleet.
Specialists, Not Generalists

Every ship in OGame exists on a spectrum between generalist and specialist. Light fighters, cruisers, and battleships all serve multiple functions — raiding, fleet combat, mixed defence cracking — and they scale gracefully as you throw more of them at a problem. The destroyer and the bomber sit at the far end of that spectrum. They are purpose-built, expensive, and surprisingly narrow in their optimal use cases. That narrowness is not a weakness; it is a design feature. When you deploy them correctly, they massively outperform any generalist alternative. When you deploy them incorrectly, you have a pile of resources doing nothing useful.
Understanding this before you spend the construction time is essential. Bombers require Impulse Drive 6, Plasma Technology 5, and a Battlecruiser in your dock — prerequisites that represent a serious technology investment. Destroyers need Hyperdrive 6 and battleship-tier infrastructure. Neither ship is a beginner project. They are mid-to-late game tools, and treating them as such will save you a lot of frustration.
The key principle is that specialists earn their cost only in the specific scenarios they were designed for. Build them when those scenarios apply to you regularly, not on day one, and not as a substitute for a solid core fleet built around cruisers and battleships.
Bomber: Cracking Turtle Defenses
The bomber's entire identity is defined by one stat: its plasma bomb weapon fires with a base attack of 1,000 and has a hard-coded rapid-fire ratio of 5 against heavy gun placements — specifically, the Plasma Turret. No other ship in the game has rapid-fire against Plasma Turrets. If your target has a substantial plasma turret battery, a conventional fleet will take disproportionate losses grinding through them. A bomber fleet does not.
The bomber also carries rapid-fire against:
- Missile Launchers (5 shots per round)
- Ion Cannons (10 shots per round)
- Heavy Lasers (5 shots per round)
- Gauss Cannons (5 shots per round)
In practice this means a bomber wave tears through the most common medium-to-heavy defense layers with far fewer combat rounds than an equivalent cost in battleships. Against a player who has turtled hard — piled on Plasma Turrets and Gauss Cannons as their primary defence — bombers are not just better, they are the only economically rational choice. Sending battleships or even battlecruisers into a plasma-heavy defense setup is a recipe for losing ships on a net-negative raid.
The bomber's weaknesses are equally important to understand. It is slow — base speed 4,000 with Impulse Drive, improving with upgrades but never competitive with battlecruisers or battleships. Its shield is thin at 500, and its structural integrity at 75,000 is not exceptional for its cost. Most critically, the bomber has no rapid-fire against other ships, which means it contributes relatively little in open fleet-vs-fleet engagements. Never send bombers alone against a defense installation. They need escorts to absorb fire and reduce the number of rounds the defense gets to shoot back.
Practical bombing recipe: Back your bombers with a screen of battleships or cruisers to soak hits. The bombers do the structural damage to fortifications while your main fleet takes the counter-fire. Run a battle simulator — OGames has one built in — before committing the attack, and make sure your simulated losses are acceptable before you actually launch.
Destroyer: The Heavy Brawler
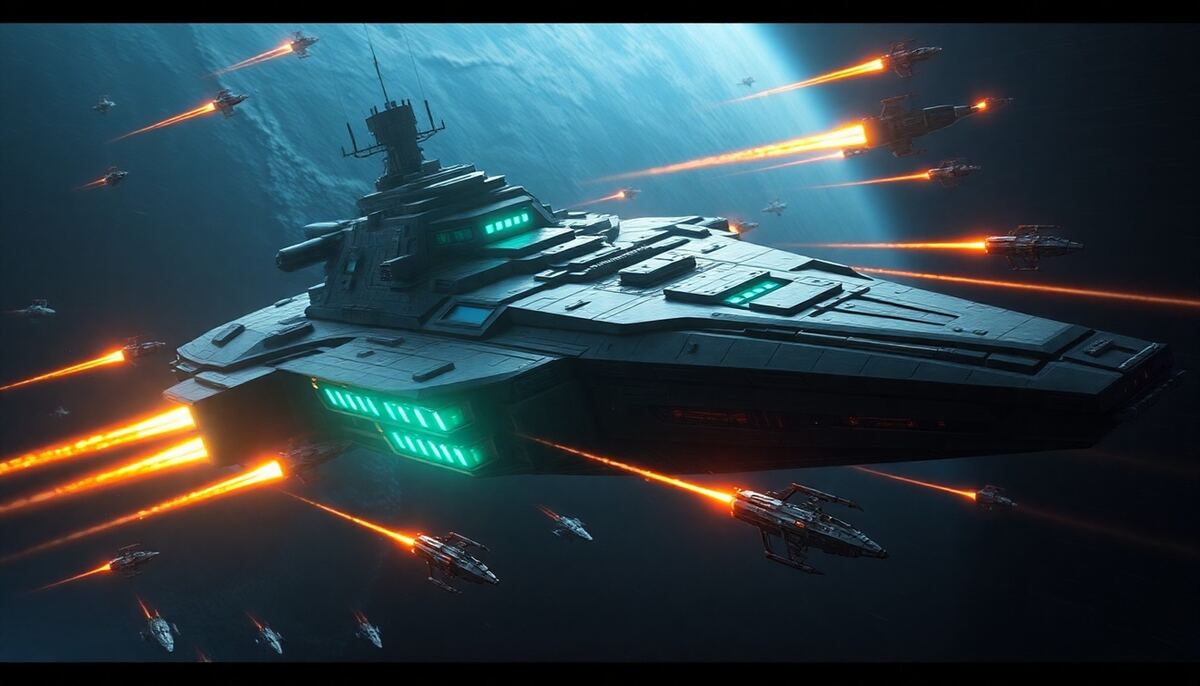
Where the bomber is a siege weapon, the destroyer is a line brawler. Its combat profile reads like this: 2,000 base attack, 500 shields, and 110,000 structural integrity. That structural integrity is the highest of any non-death-star hull in the game, making it extraordinarily resilient once battle is joined. You do not kill a destroyer easily — it simply keeps absorbing fire round after round while its Gauss cannon chews through whatever is shooting at it.
The destroyer's critical rapid-fire entry is against the Battlecruiser: it fires twice per round on average against one of the best anti-large-ship weapons in the game. This is not a coincidence — destroyers were explicitly designed as the counter to the battlecruiser meta. When a player has built a battlecruiser-heavy fleet specifically to prey on death stars and large ships, you bring destroyers to the engagement. The rapid-fire advantage flips the combat math decisively.
Destroyers also serve as death star escorts for exactly this reason. A RIP (death star) fleet without escort is terrifyingly powerful but vulnerable to a fast battlecruiser interception wave — battlecruisers have rapid-fire against death stars and can be assembled quickly. A destroyer screen accompanying the death star removes that soft counter. The battlecruisers hit the destroyers instead, take twice the return fire, and melt before they can meaningfully damage the RIP. This is the core of the destroyer's fleet role: not a solo unit, but the answer to a specific threat in combined arms.
The destroyer's weaknesses: it is extremely expensive in deuterium (1,000 per unit) and in construction time. It is also slow, which means it locks your entire fleet to its speed on any mission where it participates. Never lead an attack wave with destroyers unless you can afford the slow approach. And like the bomber, it has no rapid-fire against smaller ships — light fighters, heavy fighters, cruisers — so it does not replace your main battle line, it supplements it.
When Specialists Earn Their Cost

Both specialists share one economic truth: they earn their cost only when deployed against the exact threat profile they were designed to counter. The decision framework is simple once you internalize it.
Build bombers when:
- Your farming targets are consistently investing in Plasma Turrets (typically 50+ turrets).
- You are pushing a turtle player who has years of defense investment and cannot be cracked economically without rapid-fire against heavy guns.
- You have fast escort ships already built and can afford to send a mixed wave.
Build destroyers when:
- Your server has active death star fleets and you want to escort or protect RIPs from battlecruiser interceptions.
- A rival is running a pure battlecruiser fleet specifically designed to prey on large ships including your own death stars.
- You are assembling a war fleet for a sustained campaign and need maximum durability per ship slot.
Do not build either when:
- Your farming targets have light defenses crackable by cruisers or battleships at a lower investment cost.
- You are still working through the mid-game technology tree — the opportunity cost of specialist infrastructure beats waiting for generalist upgrades.
- You cannot field a proper escort for them.
The economic break-even calculation is worth doing explicitly. Each bomber costs 50,000 metal, 25,000 crystal, 15,000 deuterium. If deploying 20 bombers instead of equivalent-cost battleships saves you 5 battleships per raid on a heavy defense target, that savings compounds across every subsequent raid against that target. Run the simulator on your actual target profile before committing to either specialist.
Composition Slots for Specialists
Specialists never occupy your entire fleet. They occupy defined slots within a larger composition, and understanding those slots prevents the common mistake of over-investing in a single specialist type at the expense of fleet balance.
Typical anti-turtle composition (heavy defense target):
- 30–40% battleships or cruisers as escort and fire sponge
- 40–50% bombers as primary defense-cracking damage
- 10–20% recyclers trailing for the debris field
- A handful of espionage probes on a pre-attack scout run — never skip this
This ratio scales with the size of the defense installation. Against a player with 200+ Plasma Turrets, push the bomber percentage toward 60% of your total attack force. Against lighter setups, drop it toward 30% and rely more on your standard escort fleet.
Typical RIP escort composition:
- 1–3 death stars as primary damage source
- 20–50 destroyers as battlecruiser counter-screen
- Battleships filling the remaining slots for general durability
- Recyclers staged nearby at a moon to collect the inevitable debris
The destroyer count in a RIP escort depends on how active and aggressive your server environment is. On a busy server where players regularly field battlecruiser interception waves, you want more destroyers. On a quieter server where the main threat is attrition raids rather than organized fleet interceptions, fewer destroyers and more battleships is often correct. Read your environment.
A point worth emphasizing: if you are playing a logistics-first style and your fleet is primarily transport-oriented, specialists are the last ships you should be building. Lock in your raiding core first, then layer in specialists once your farming efficiency is already high.
Specialist Ships on OGames
On OGames speed universes, the economics of specialist ship-building shift meaningfully compared to 1x servers. Research prerequisites arrive faster, production queues clear quickly, and the overall arms race runs hotter — which changes the calculus for both bombers and destroyers.
In Andromeda (economy 50x, research 100x), you will reach Plasma Technology 5 and Impulse Drive 6 within the first week or two of active play. Bomber-relevant targets — turtled players with heavy plasma investments — start appearing as early as week two because players accumulate faster. Build your bombing capability early relative to a standard server timeline. The 5,000 Dark Matter at signup and 1,000 weekly free DM also lets you run commanders that reduce build time, accelerating the specialist investment payoff. Compare universe speeds here.
In Nebula (economy 99x, research 198x) and Proxima (economy 200x, research 400x), the entire early game is compressed to days. By the end of your first weekend you can realistically be approaching battlecruiser and destroyer technology tiers. Nebula's 10,000 DM and 10,000 weekly bonus and Proxima's 20,000 DM with 50,000 weekly are large enough to run a full commander set from day one, which meaningfully accelerates the technology climb to specialist prerequisites. Proxima's 80% ship debris rate is particularly important: every fleet engagement produces a massive debris field, and players in Proxima build heavy combatant fleets far earlier than in Andromeda. Destroyers become relevant faster in Proxima because RIP fleets emerge faster and battlecruiser counter-play is an immediate threat, not a late-game one.
The built-in Battle Hall and server records on OGames are genuinely useful for specialist research. Browse recent large battles and look at what compositions are winning. If you see consistent battlecruiser-heavy fleets in the top results, that is a strong signal to invest in destroyers. If the top raids show large defense installations being cracked, check whether those attackers ran bombers. Real combat data from your own server is better calibration than any guide, including this one.
OGames also includes the Fleet Dealer feature, which can occasionally surface specialist ships at reduced cost or reduced production time — worth checking before you queue a large bomber or destroyer build. The Academy system with daily quests may also provide technology research bonuses that shorten your path to specialist prerequisites. Use every efficiency multiplier available before committing to the most expensive hulls in the game.
One final note specific to death star strategies on OGames: the moon chance in all three universes is elevated above standard OGame (20% in Andromeda, 30% in Nebula, 40% in Proxima). Moons are essential for phalanx operations and fleet saving around RIP deployments. If you are building destroyers as a RIP escort, simultaneously work toward moon creation on your key planets. Destroyers protecting a death star launched from a moonless planet are still vulnerable to phalanx-targeted interceptions.
FAQ
Is the bomber worth building if my targets only use Rocket Launchers and Light Lasers?
No. Bombers are cost-effective specifically because of their rapid-fire against Plasma Turrets and Gauss Cannons. If your targets are running light defenses — Rocket Launchers, Light Lasers, or even Heavy Lasers in moderate numbers — cruisers and battleships will crack those installations at a lower total cost. Save the bomber investment for when you encounter genuine turtle defenses with significant Plasma Turret counts.
Can I use destroyers as a standalone raiding fleet?
Technically yes, but it is extremely inefficient. Destroyers have no rapid-fire against lighter ships, so they grind through small ship defenses slowly. Their high deuterium cost makes every flight expensive. They are best used in mixed compositions where their specific advantages — rapid-fire against battlecruisers, extreme structural durability, death star escort role — are actually being utilized. For raiding undefended or lightly defended planets, faster and cheaper ships outperform destroyers on a resources-per-trip calculation.
How many bombers do I need to crack a heavy turtle?
This depends entirely on the specific defense composition. Always run OGames's built-in battle simulator with the exact defense numbers from your espionage report before committing. As a rough heuristic: against a target with 100 Plasma Turrets and proportional other defenses, expect to need 50–80 bombers with a proper battleship escort to clear the installation profitably. The simulator is your most important tool — use it every single time, not just when you are uncertain.
Do specialists interact with character classes on OGames?
Yes. The General class provides combat bonuses including increased rapid-fire counts and weapon/shield/armor percentage bonuses that apply to all ships including destroyers and bombers. If you are committing to a heavy combat role on OGames, General class amplifies specialist performance meaningfully. The class system also interacts with fleet slots and fuel consumption, which matters for slow ships like destroyers on long-range missions. Review the class bonuses in the Academy before choosing your permanent class if specialist combat is central to your strategy.
Should I prioritize bombers or destroyers first?
It depends on your server environment. If you are in an environment with active, turtled players running heavy Plasma Turret installations that you want to raid, bombers provide immediate returns. If you are in an aggressive PvP environment where death star fleets and battlecruiser interceptions are common threats, destroyers protect your largest assets from the most dangerous counter-play. On OGames speed servers, both threats emerge faster than on 1x servers — scan the Battle Hall for active combat patterns in your universe within your first week and let actual server activity drive the decision. If in doubt, bombers typically provide more consistent returns earlier because raiding heavy defenses is a recurring need, while RIP escort is situational until you actually own a death star.
Ready to put these specialists to work? All three OGames universes — Andromeda, Nebula, and Proxima — are active with players in every stage of fleet development, from fresh recruits building their first cruisers to veterans running coordinated death star campaigns. Register on OGames and pick the universe that matches your pace. The debris fields are waiting.